Complete Guide to AstrologyPro
Everything you need to know to run your divination business
Whether you are a diviner setting up your practice or a client booking your first reading, this guide has you covered.
To learn more about the
Mystery School
Table of Contents
Section 1 Getting Started
Set up your AstrologyPro practice in 7 simple steps. Most diviners are fully up and running within 30 minutes.
Create Your Account
Head over to astrologypro.com/get-started and enter your email, choose a password, and pick a username. Your username is important because it becomes your permanent URL — your clients will visit astrologypro.com/[username] to find you. Once you complete checkout ($197 setup fee + your first month at $149), you will be taken straight to your new dashboard.
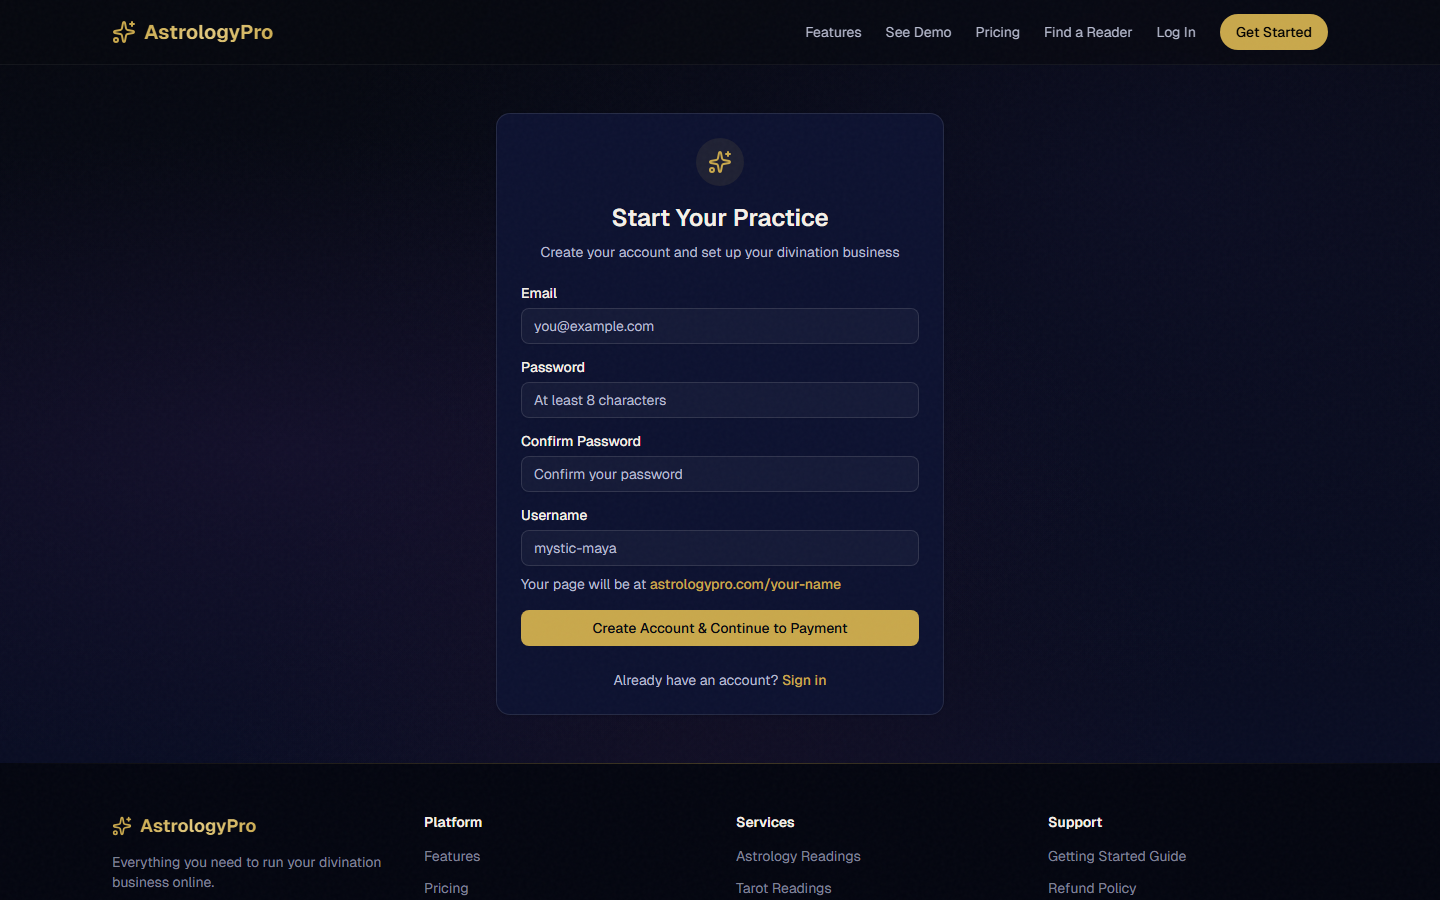
Pro Tip: Choose a username that matches your brand name or professional name. It cannot be changed later, so pick wisely!
Complete Your Profile
Upload a professional photo — a clear headshot works best. Write your bio to tell potential clients about your background and approach, or save time by clicking the "Generate Bio" button to let AI draft one for you. Add a short tagline (one sentence that captures what you do) and select your specialties from the list.
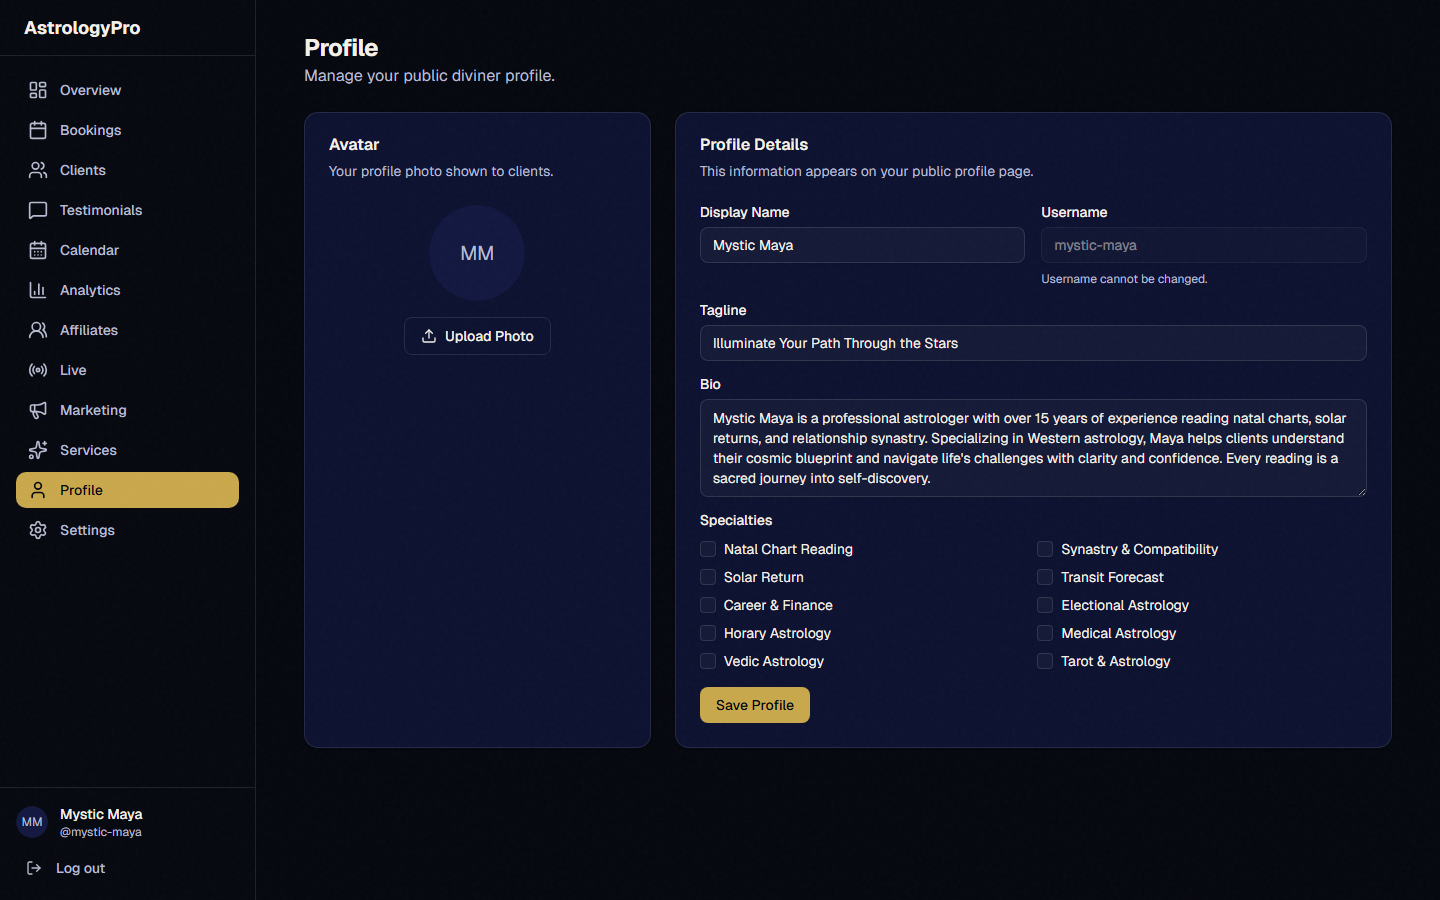
Pro Tip: Profiles with a professional photo get significantly more bookings. Natural lighting and a simple background work best.
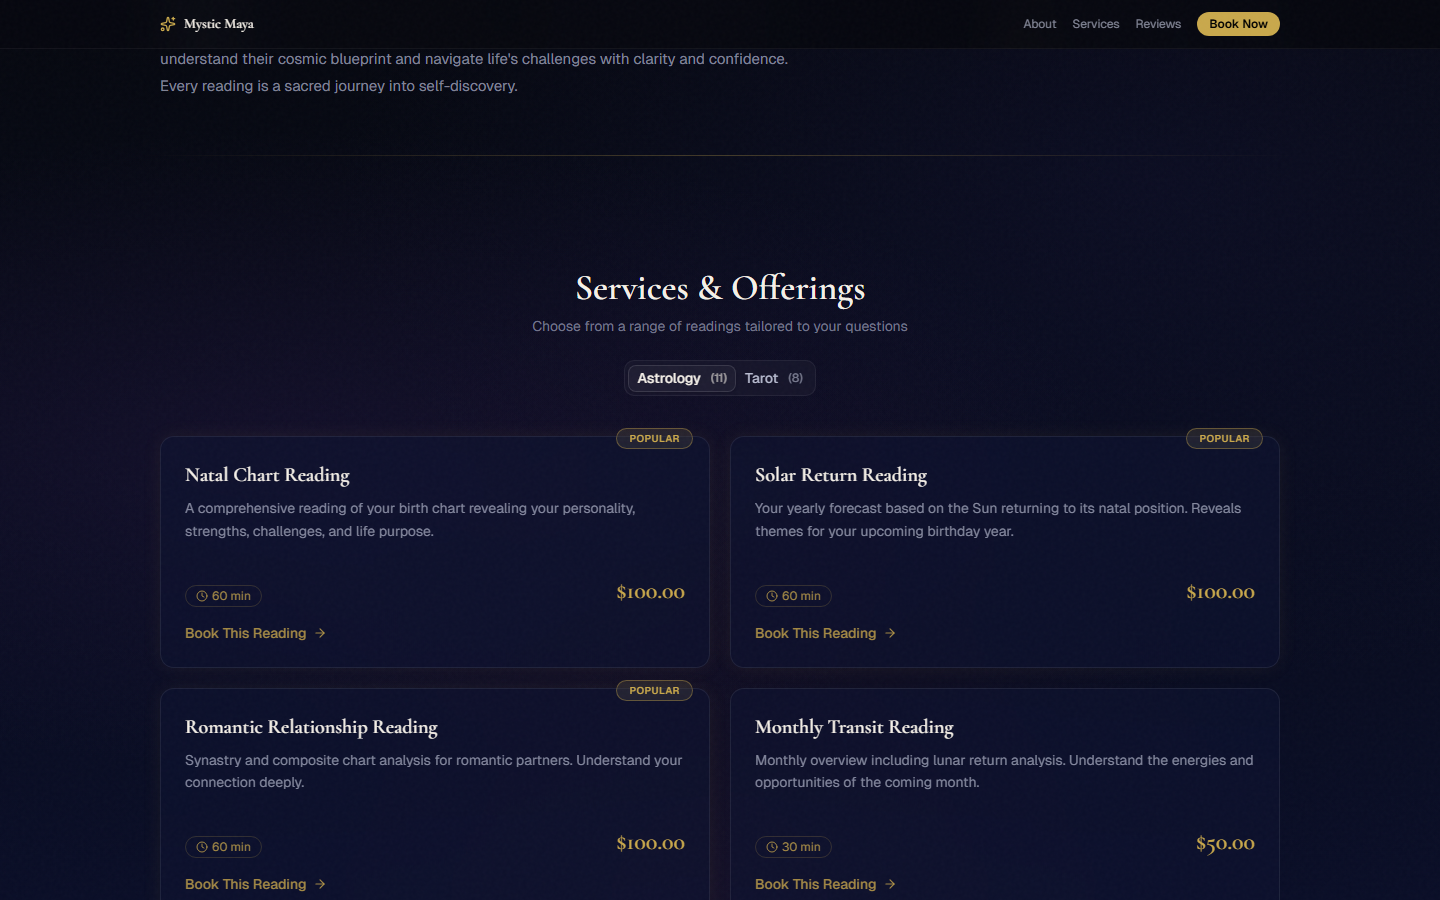
Choose Your Services
AstrologyPro offers 19 consultation types — 11 astrology services and 8 tarot services. Toggle on the ones you want to offer and customize the pricing for each. Mark 3–4 services as "Featured" so they appear prominently at the top of your landing page. Featured services are the first thing visitors see, so choose your best sellers.
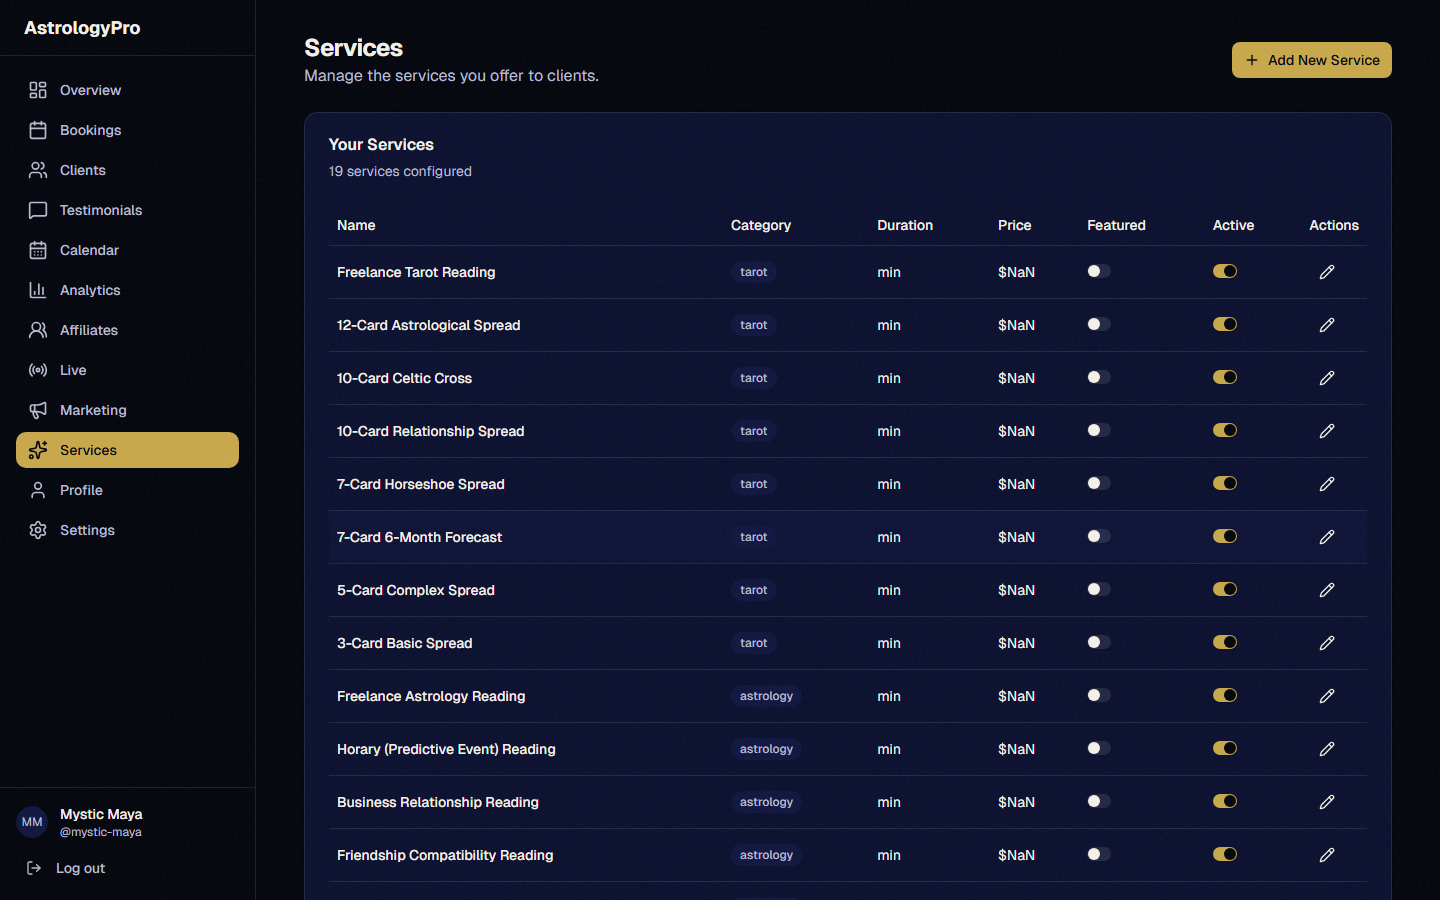
Pro Tip: Less is more at first. Start with 3–4 featured services, then expand once you know what your audience wants most.
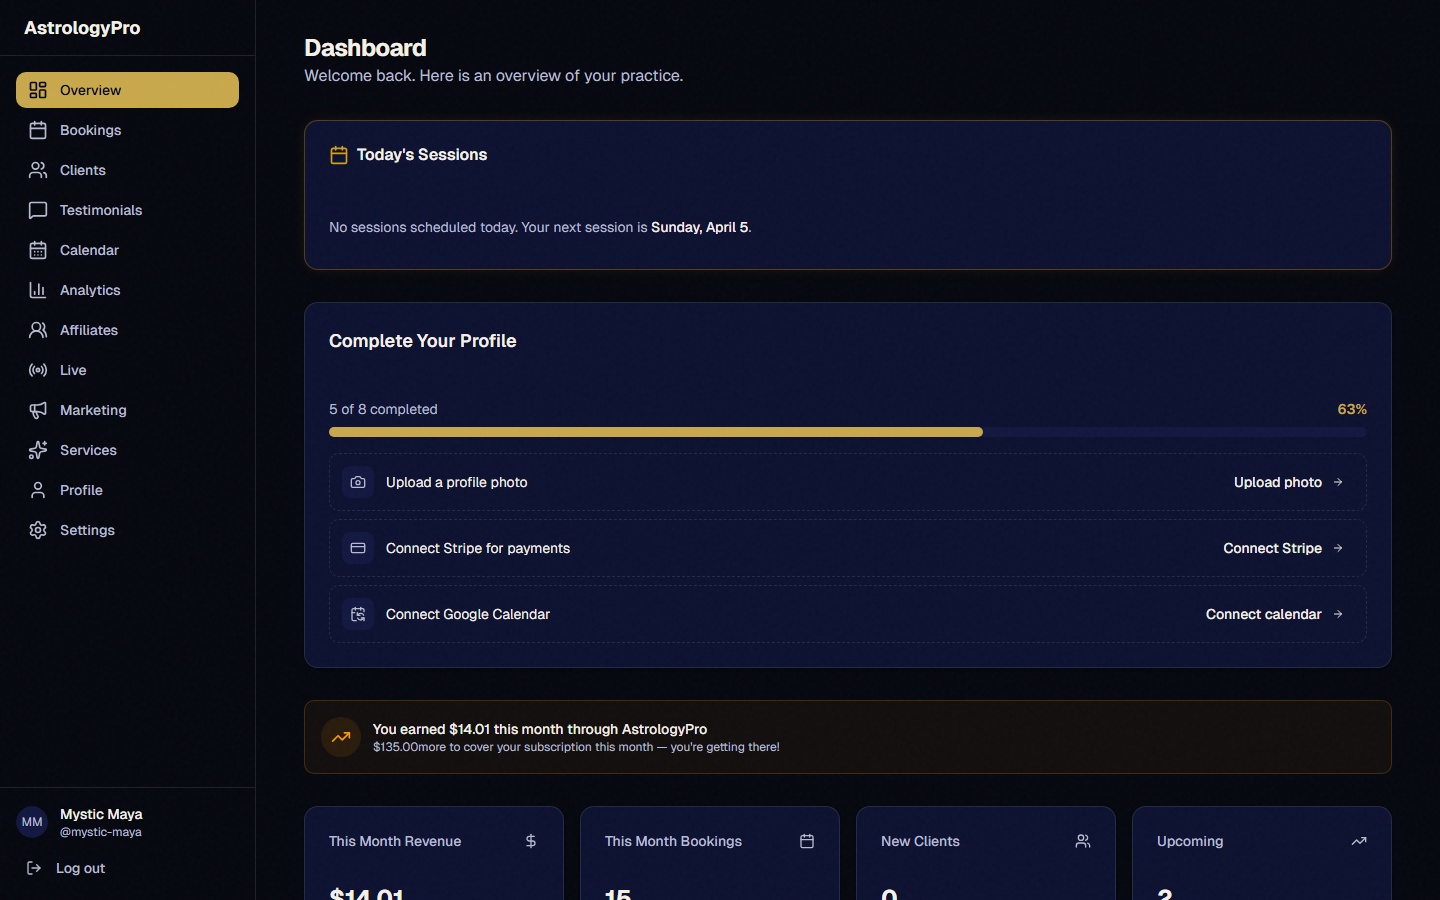
Connect Stripe
Click the "Connect Stripe" button to link your payment account. Stripe handles all payment processing securely so you never have to touch sensitive card data. Once connected, client payments go directly to your bank account on a rolling basis. The whole setup takes about 5 minutes.

Pro Tip: Make sure the bank account you connect to Stripe is one you check regularly — that is where all your session revenue will land.
Set Your Availability
Click each time slot on the weekly calendar to mark when you are available for sessions. You can set different hours for different days — maybe mornings on weekdays and afternoons on weekends. Need a day off? Just block it out. You can update your availability anytime from your dashboard.

Pro Tip: Block off at least 15 minutes between sessions for prep time and notes. Back-to-back readings lead to burnout.
Get a Phone Number
Go to Settings → Phone tab, click "Get a Dedicated Phone Number". Clients can call this number to join video sessions or book standalone phone readings.
Pro Tip: Share your dedicated phone number on your landing page and social media so clients know they can reach you by phone too.
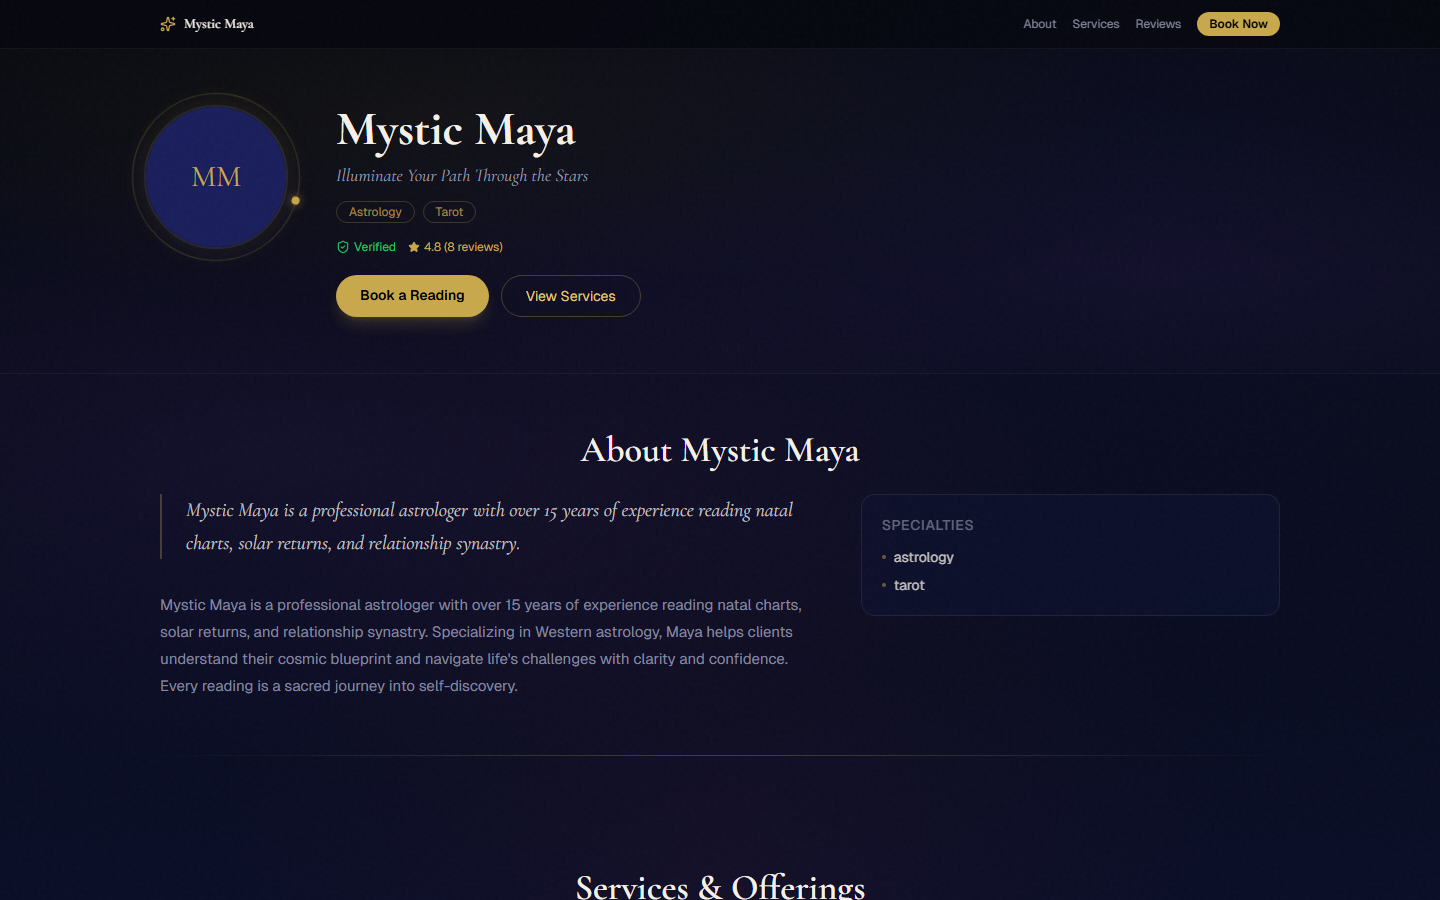
Your Landing Page is Live!
That is it — your professional astrology practice is online! Visit astrologypro.com/[username] to see your live landing page. It showcases your profile, featured services, testimonials, and booking calendar all in one place. Share this link everywhere: social media bios, email signatures, business cards, and anywhere you connect with potential clients.
Pro Tip: Put your AstrologyPro link in every social media bio you have. It should be the easiest link for anyone to find.
Section 2 Running Your Business
Manage bookings, conduct sessions, grow your client base, and market your practice \u2014 all from one dashboard.
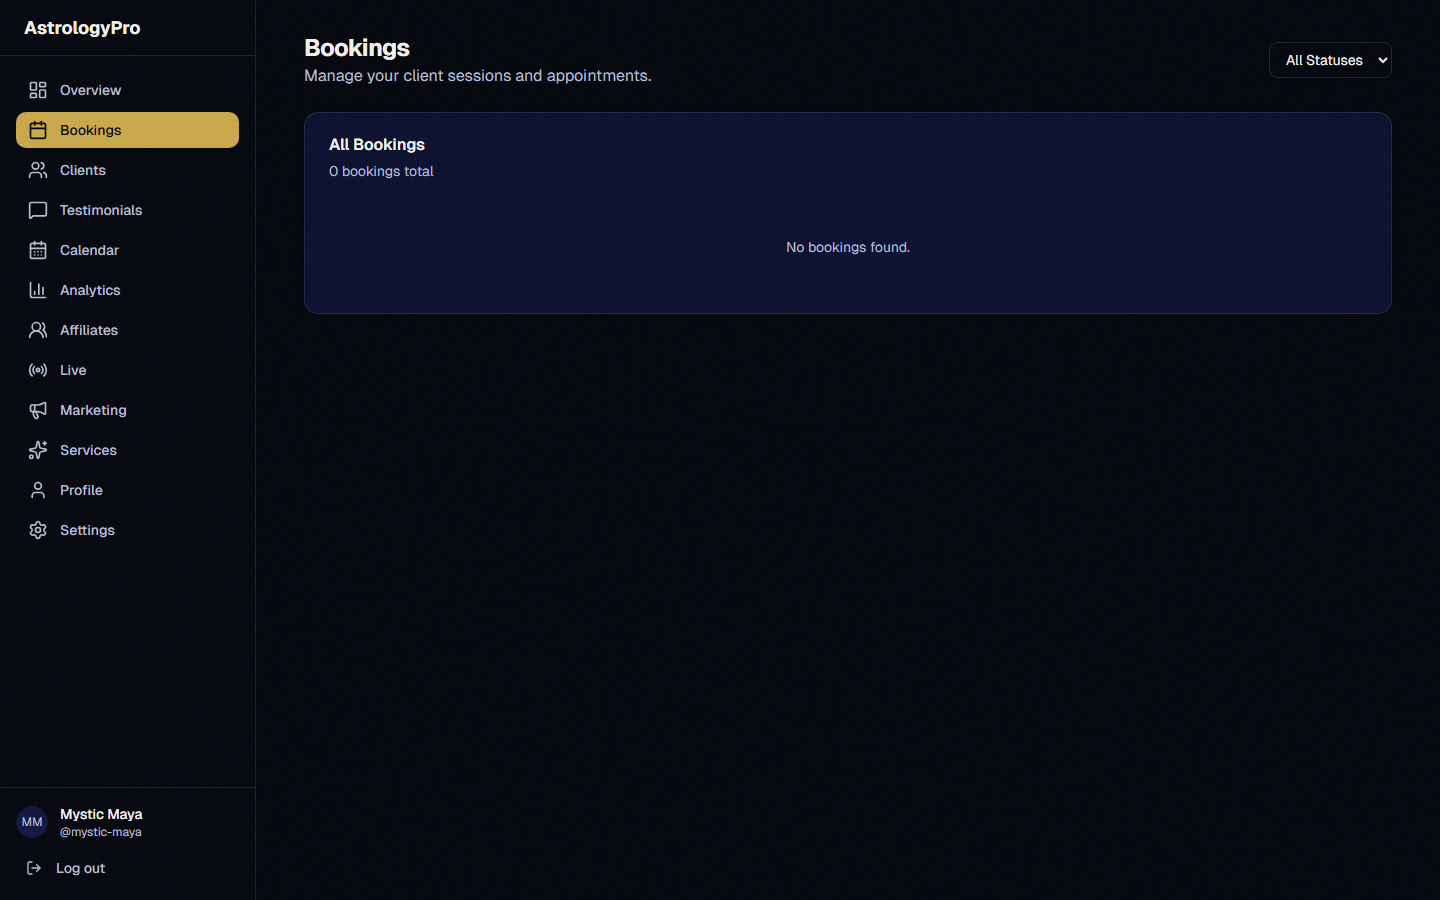
Managing Bookings
Your dashboard shows all your upcoming and past bookings in one clear view. Confirmed bookings display the session link you will use to join. Before each session, click the "Prepare" button to review the client’s intake questionnaire, birth data, and any notes from previous sessions so you walk in fully ready.
Pro Tip: Spend 5 minutes with the Prepare screen before each session. Clients notice when you remember details from their last reading.
Video Sessions
When session time arrives, click "Join Session" from your dashboard. Both you and your client will accept the recording consent prompt. Start in "Face" mode for direct conversation, then switch to "Screen" mode when you want to share charts, cards, or other visuals from your back-office tools. A timer tracks the session length, and you will get an alert when overtime begins. Use the sidebar to jot down session notes in real time.
Pro Tip: Practice switching between Face and Screen mode before your first real session so the transition feels smooth to clients.
After the Session
Sessions end automatically when time is up, or you can click "End Session" manually. The recording is saved and sent to your client via email so they can rewatch their reading anytime. If the session ran over the allotted time, overtime charges are calculated automatically. The client also receives an email requesting a testimonial about their experience.

Pro Tip: Mention during the session that a recording will be sent — clients love knowing they can revisit your insights later.
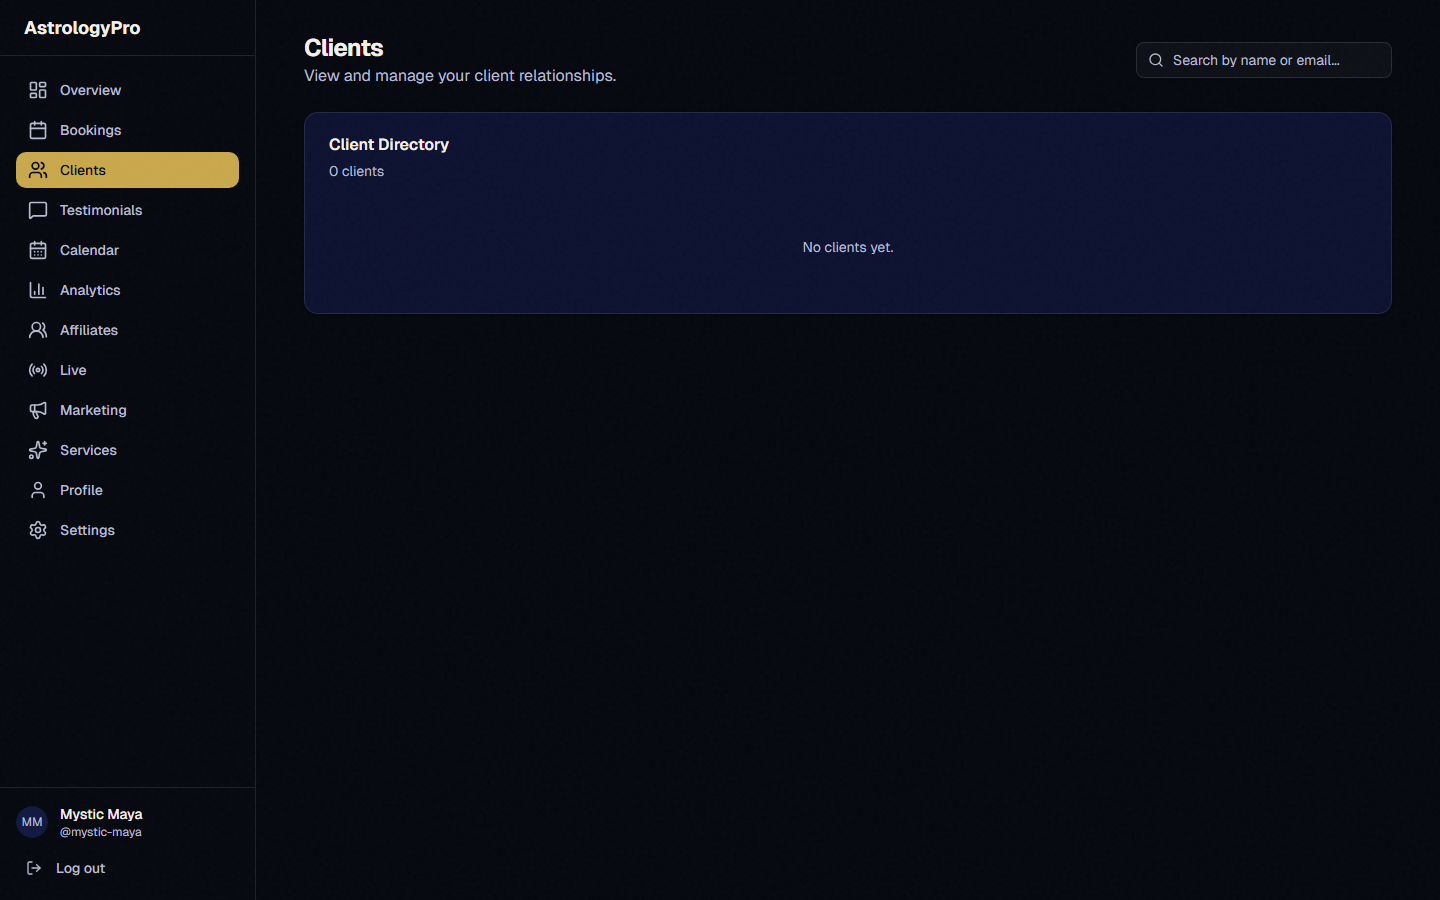
Client Management (CRM)
The built-in CRM gives you a complete view of every client: their birth data, full session history, your private notes, and revenue totals. Search and filter to find any client instantly. This is your command center for building lasting relationships with repeat clients and preparing for upcoming sessions.
Pro Tip: Add a personal note after every session while it is fresh. Future-you will be grateful when that client books again months later.
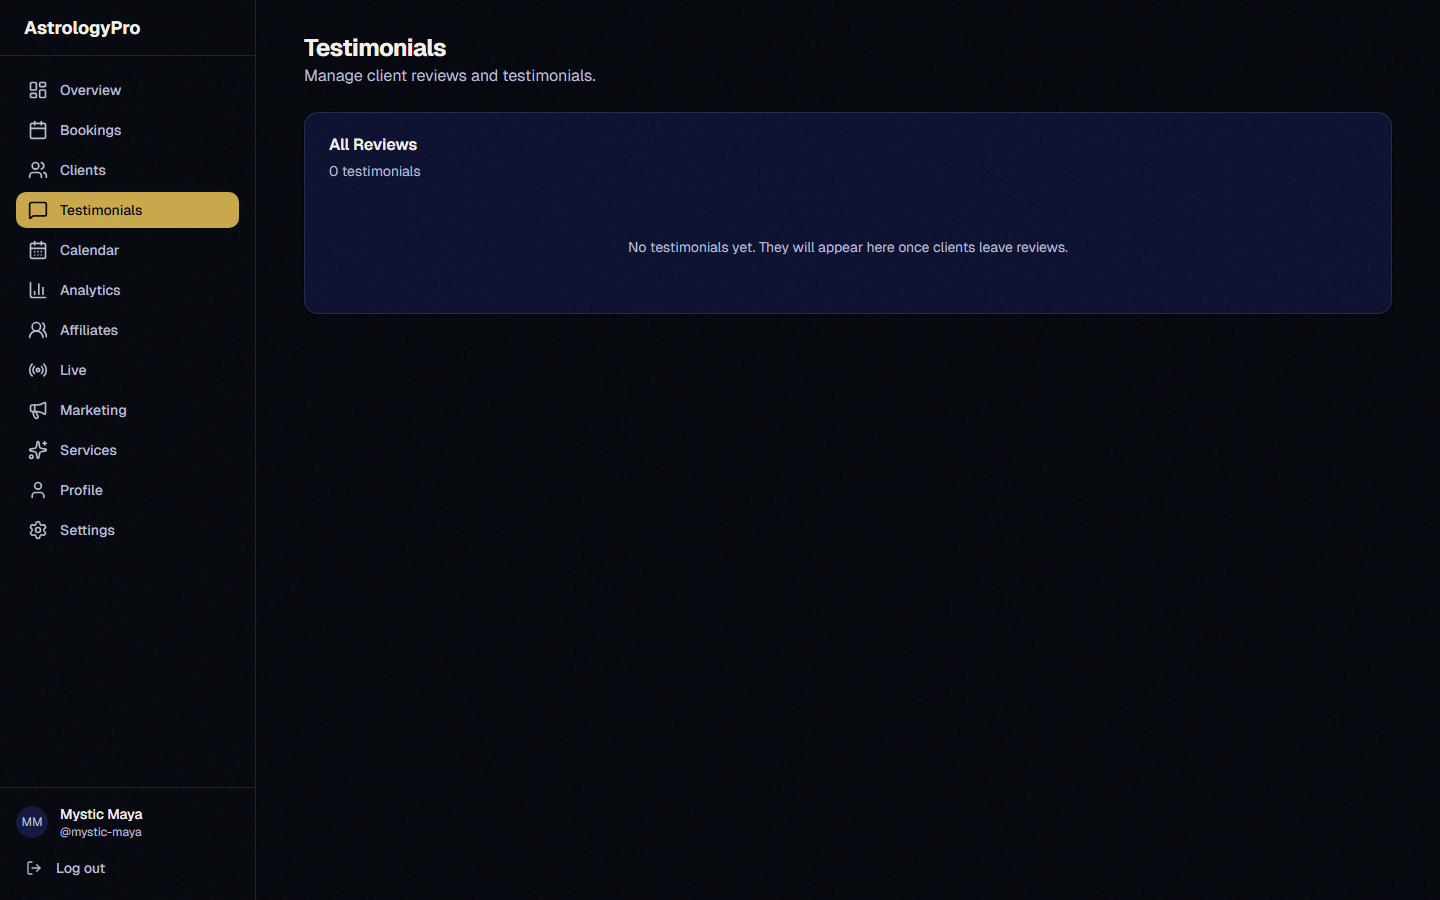
Testimonials
After each session, clients receive an email inviting them to leave a review. All submitted testimonials appear in your dashboard where you can approve, reject, or mark them as "Featured." Featured testimonials are displayed prominently on your landing page — strong social proof is one of the best ways to convert new visitors into paying clients.
Pro Tip: Feature your 3–5 best testimonials. A mix of different service types shows visitors the breadth of what you offer.
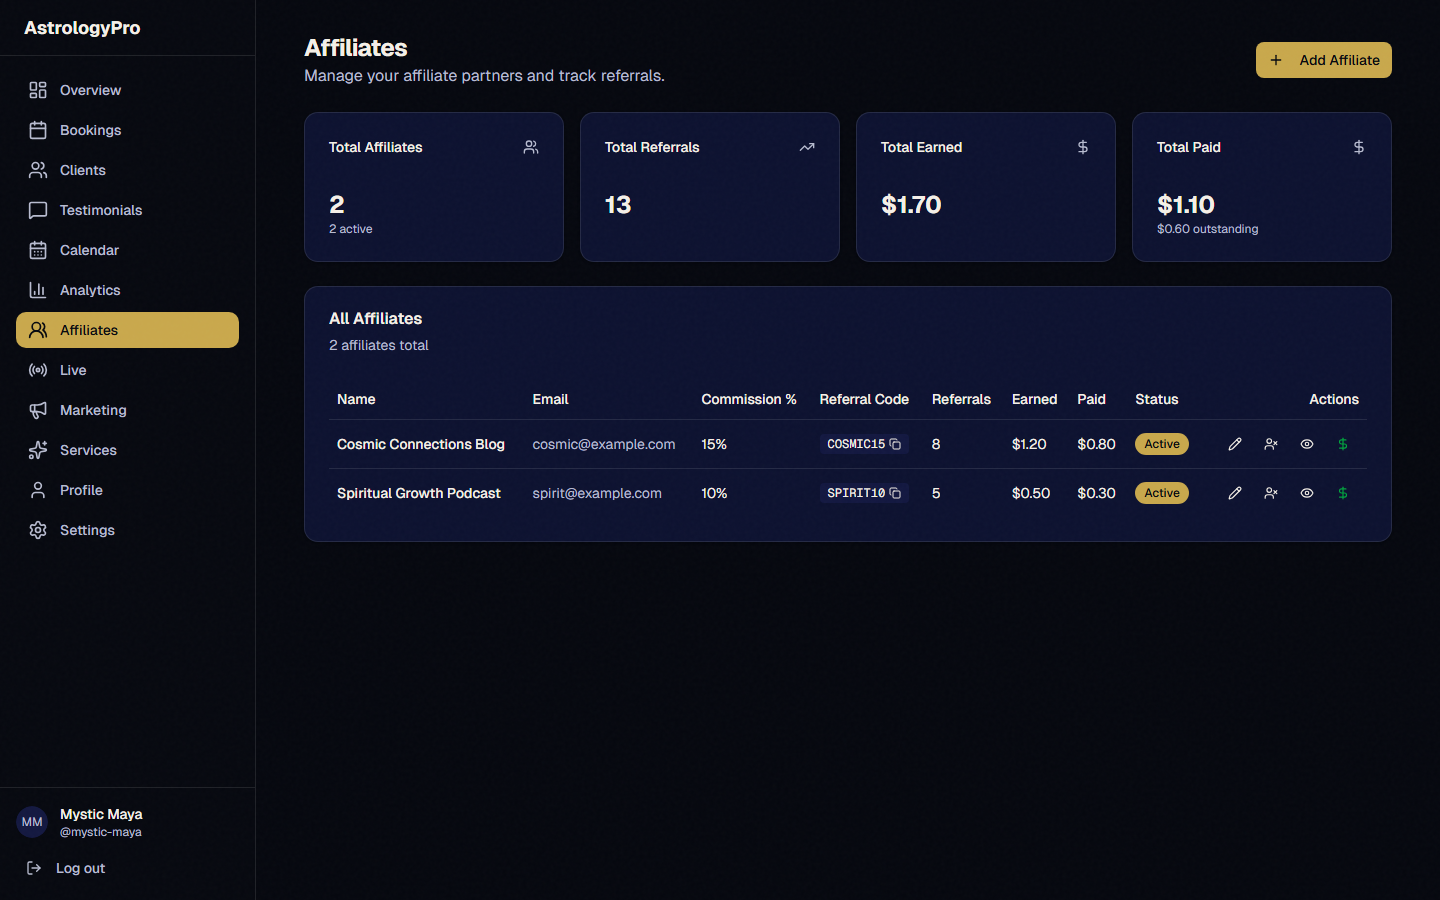
Affiliate Program
Grow your practice through word of mouth by creating affiliates — people who send clients your way. Set each affiliate’s commission percentage, then give them their unique referral link. When someone books through that link, the referral is tracked automatically. You pay your affiliates directly (we just track everything), and you can mark payments as completed in the dashboard.
Pro Tip: Your happiest clients make the best affiliates. After a great session, ask if they would like to earn commissions by referring friends.
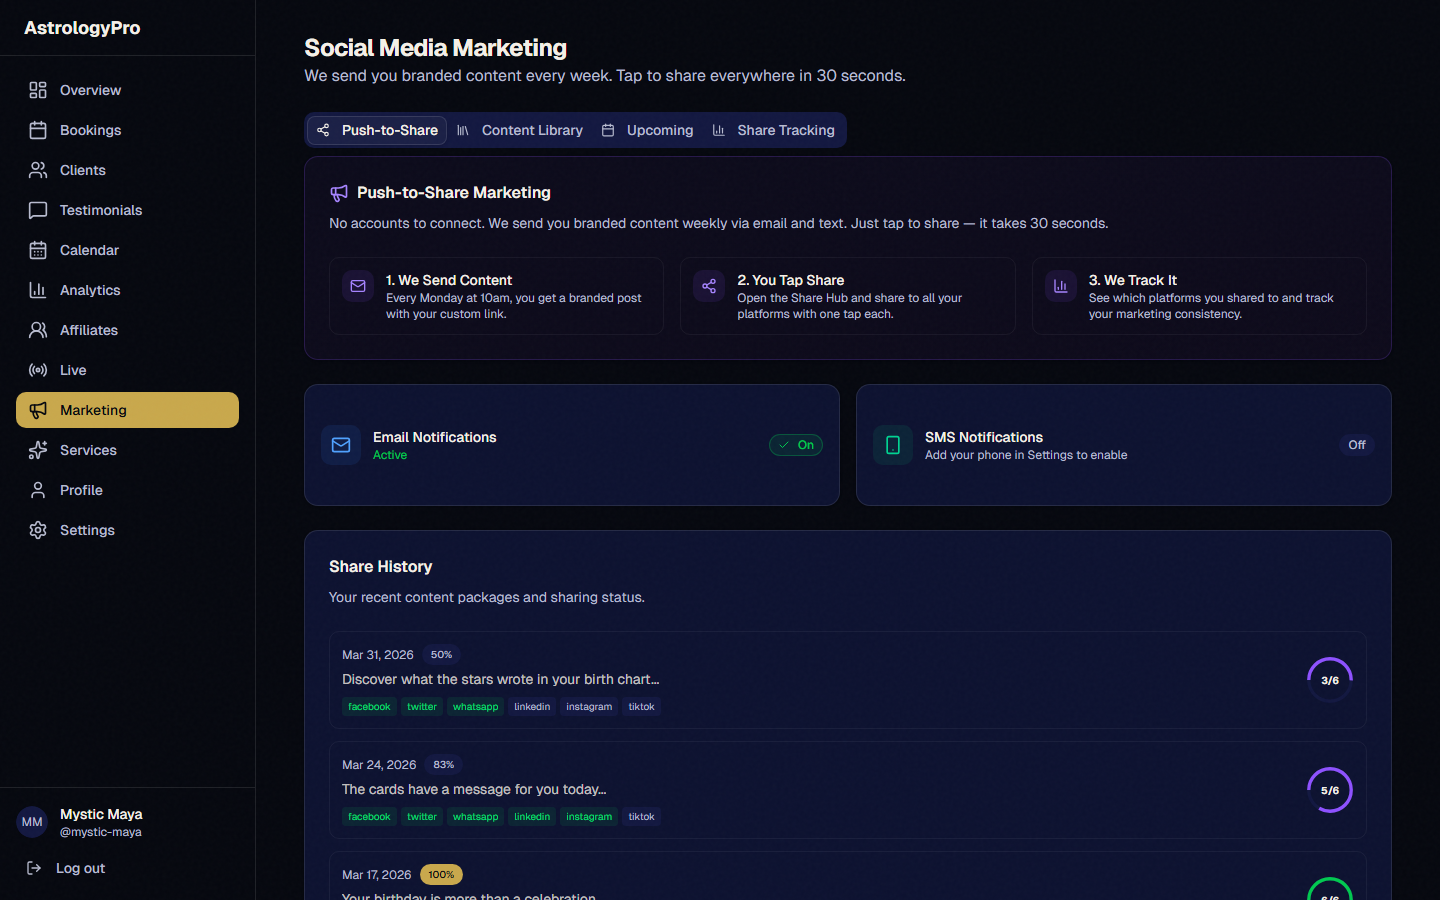
Social Media Marketing
Every Monday, you will receive branded astrology content ready to share — images, captions, and hashtags tailored to your practice. Open the link from your email or text message, then tap "Share Everywhere" to post to all your connected platforms in about 30 seconds. Prefer to customize? Pick individual platforms and tweak the content. For Instagram and TikTok, download the image and copy the caption to post natively.
Pro Tip: Consistency beats perfection. Sharing every Monday keeps you visible in your audience’s feed without burning out on content creation.
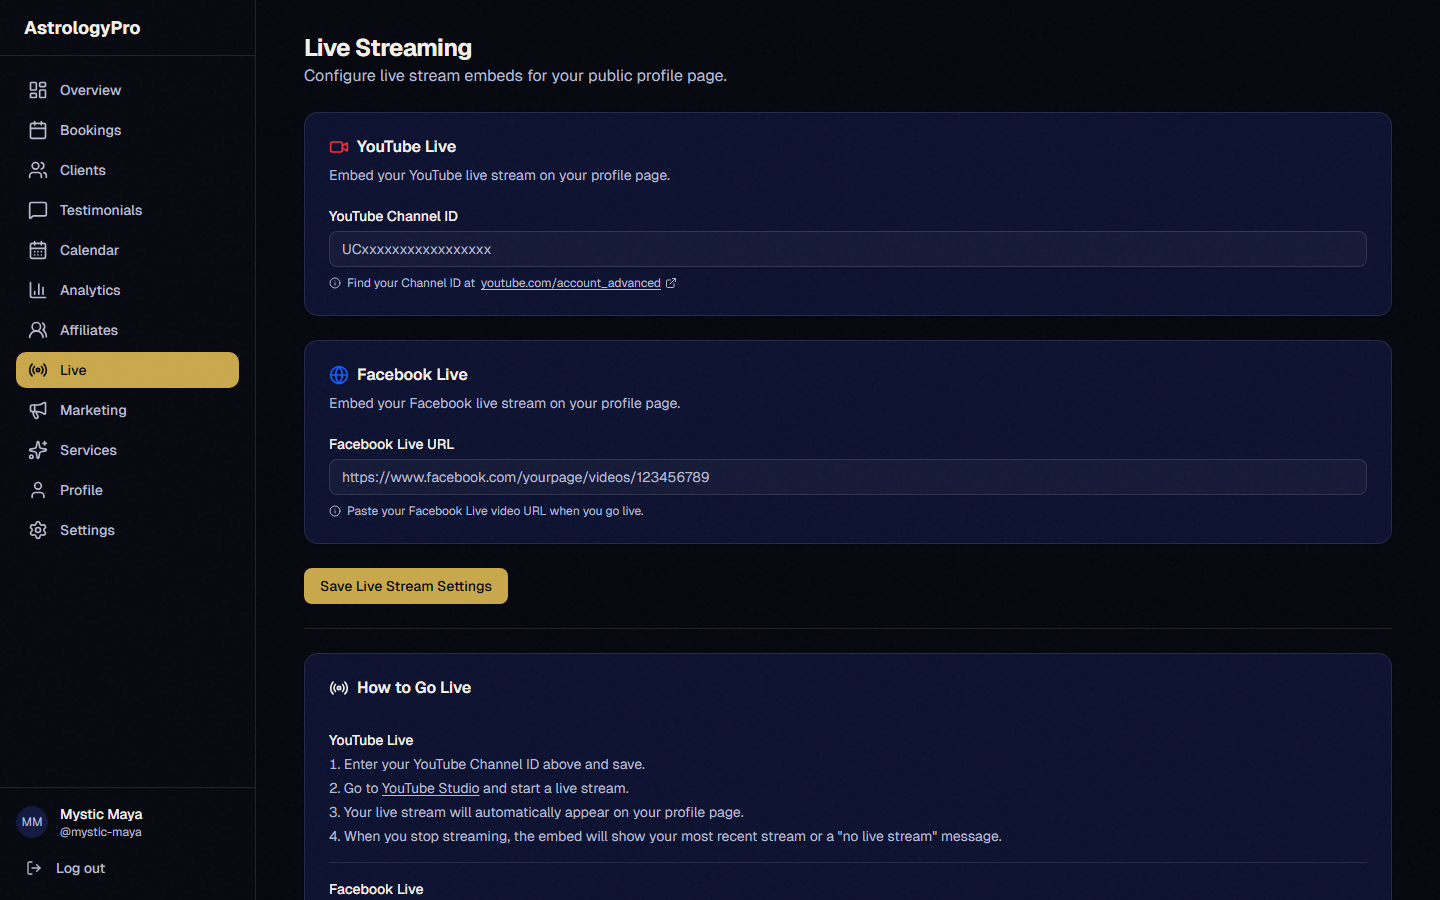
Live Streaming
Connect your YouTube channel by going to Dashboard → Live and pasting your YouTube Channel ID (find it at youtube.com/account_advanced). Whenever you go live on YouTube, the stream automatically appears embedded on your AstrologyPro landing page. Tell your viewers: "Visit astrologypro.com/[username] to book a private reading!" It is one of the best ways to convert viewers into paying clients.
Pro Tip: Go live at a consistent time each week. Regularity builds an audience that keeps coming back — and booking.
Gift Certificates
Clients can purchase gift certificates directly from your landing page. They enter the recipient’s name, email, and a personal message, then pay for the session. The recipient receives a beautiful gift certificate email with a unique code they can use to book any of your services. Gift certificates are a great revenue driver, especially around holidays and birthdays.
Pro Tip: Promote gift certificates before major holidays (Valentine’s Day, Mother’s Day, birthdays). A short social media post is all it takes.
Settings
Your settings panel lets you manage every aspect of your practice. Account settings handle your subscription and billing. Payments shows your Stripe connection status. Calendar lets you connect Google Calendar for automatic two-way sync so bookings appear on your personal calendar. Loyalty settings let you create repeat-client discounts to reward your regulars.
Pro Tip: Connect Google Calendar early — it prevents double-bookings and keeps your personal and professional schedules in sync.
Phone Readings
Enable phone readings in your settings. Clients call your dedicated number for audio-only readings at $25 for 20 minutes + $0.50/min after. The call is recorded and billed automatically.
Pro Tip: Phone readings are great for clients who prefer audio-only or have limited internet. They also expand your reach to clients without webcams.
Dashboard Analytics
Track who visits your landing page, where they come from, and your booking conversion rate. Go to Dashboard → Analytics.
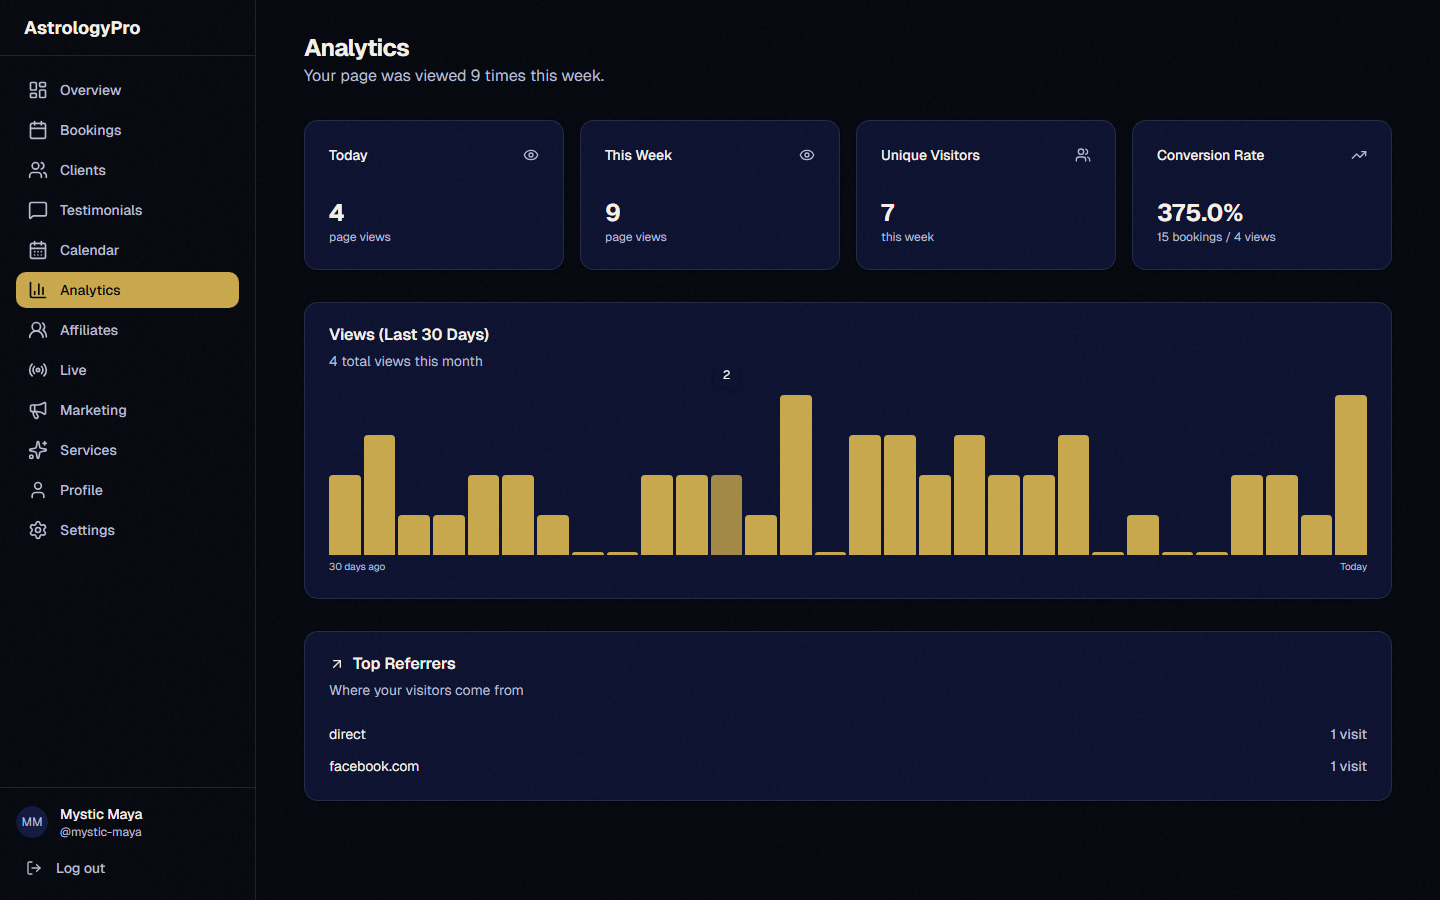
Pro Tip: Check your analytics weekly to see which marketing channels drive the most bookings. Double down on what works.
Calendar View
See your entire week at a glance. Dashboard → Calendar shows your availability, bookings, and blocked days. Click to block days off or add special hours.
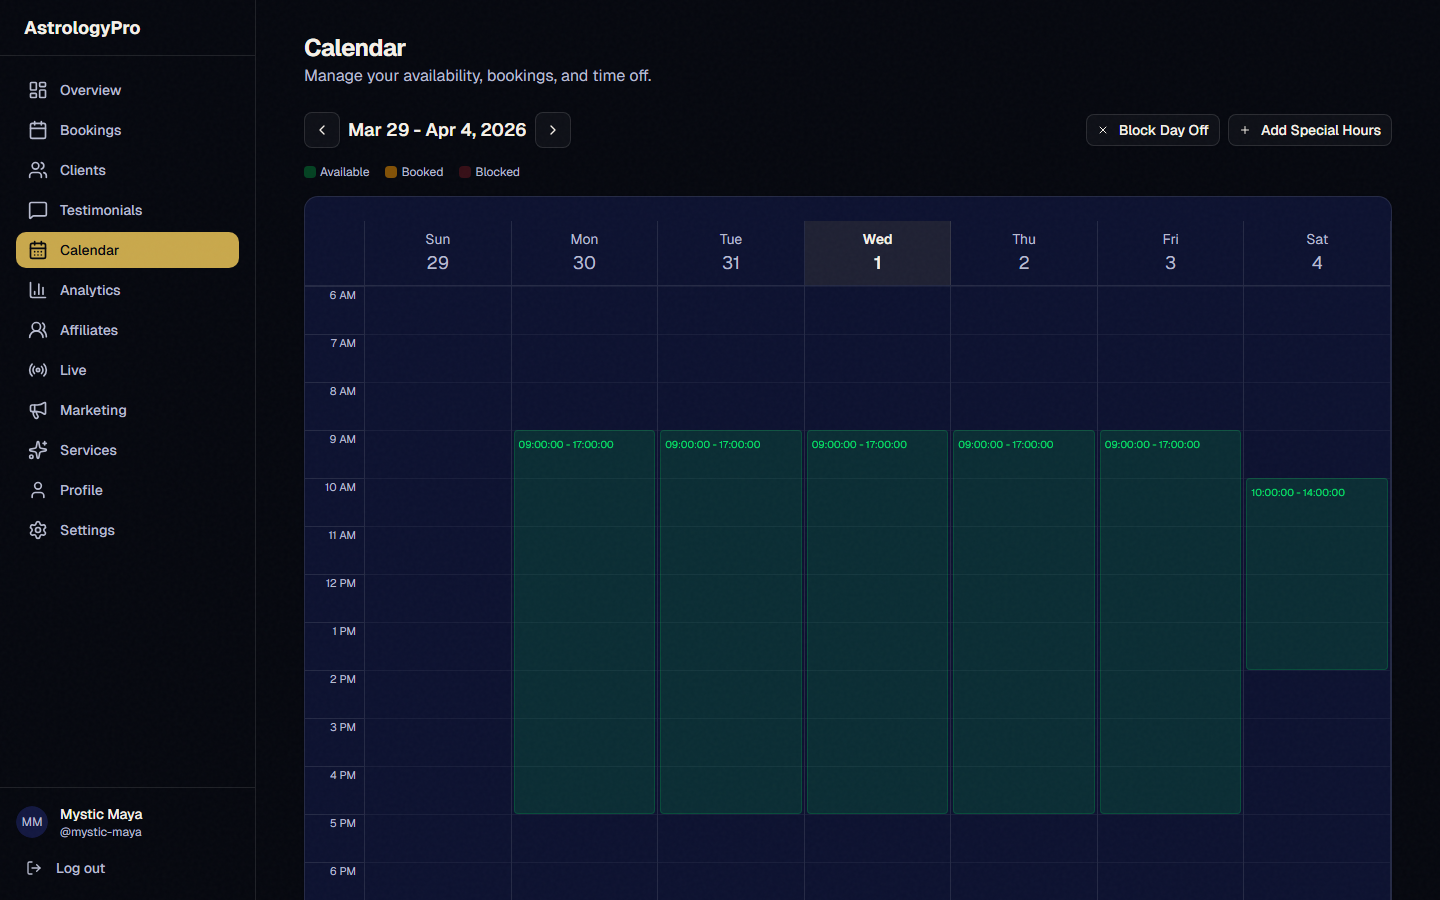
Pro Tip: Block off vacation days well in advance so clients can plan around your schedule. Last-minute cancellations hurt your reputation.
Pricing Controls
Adjust your pricing from Settings → Services. You can increase prices up to 200% of the base rate but cannot go below the base price. This protects the value of the platform.
Pro Tip: Start at the base price and increase gradually as you build up testimonials and demand. Clients expect to pay more for highly-rated diviners.
Loyalty Discounts
Reward repeat clients! Go to Settings → Loyalty tab. Set rules like "After 3 sessions, clients get 10% off." Discounts apply automatically at checkout.
Pro Tip: A small loyalty discount (5–10%) pays for itself by encouraging clients to rebook instead of shopping around.
Issuing Refunds
If you need to refund a client, go to Dashboard → Bookings, open the booking detail, and click "Issue Refund." The refund is processed through Stripe and the client is notified by email.
Pro Tip: Handle refund requests quickly and graciously. A fast refund turns a disappointed client into one who may return later.
Smart Session Prep
Before each session, click "Prepare" on your upcoming booking. You will see the client’s birth data, their questions, previous session notes, and smart alerts like upcoming solar returns or Mercury retrograde.
Pro Tip: The smart alerts highlight transits and events that are personally relevant to your client. Use them to provide timely, insightful readings.
Daily Cosmic Content (Mundane Shares)
Every day at 10 am and 3 pm UTC, AstrologyPro scans the sky using real-time astronomy calculations and detects significant planetary events — ingresses, retrogrades, aspects, and lunar phases. For each event, AI generates a polished caption and a branded image with your booking link embedded in the bottom strip. You receive an email and SMS with a link to your Share Hub so you can post within seconds.
Pro Tip: You receive up to two Share Hub links per day — one in the morning and one in the afternoon. Even sharing just the morning one consistently is enough to stay top-of-mind with your audience.
How to Share on Each Platform
Your Share Hub gives you one-click sharing to six platforms. Here is exactly what happens on each one.
Click Share and the platform automatically pulls the branded image and caption from your Share Hub link. You do not have to copy anything \u2014 just click Share and confirm.
When you tap the button, your Share Hub opens the app with the full caption and your tracking link already filled in. Review it, add your own flair if you like, and hit Send or Post.
Because Instagram and TikTok do not support direct link sharing, tap Download Image to save the branded graphic to your device. Your booking URL is baked into the bottom strip of every image, so followers see it even without clicking a link. Copy the pre-filled caption, open the app, create a new post, attach the image, paste the caption, and publish.
Pro Tip: Use the caption exactly as written for the first few weeks so you can see what your audience responds to, then start personalising. The AI captions are written in first-person astrologer voice so they already sound like you.
- Twice daily, a background job calculates real planetary positions using an astronomy engine.
- It detects notable events: planetary ingresses (a planet entering a new sign), stations (retrograde or direct), exact aspects between planets, and lunar phase peaks.
- AI writes a branded caption in first-person astrologer voice, tailored to that specific event.
- A composite image is generated with the event name and your unique booking link in the bottom strip.
- You receive an email and SMS with a link to your personal Share Hub. Everything is ready \u2014 just tap and post.
Section 3 Getting a Reading
Here is everything you need to know as a client \u2014 from finding a diviner to watching your recording afterward.
Finding a Diviner
Visit astrologypro.com/discover to browse all available diviners. Search by name, filter by specialty (astrology or tarot), and sort by rating or price. You can also visit astrologypro.com/[diviner-username] directly if a diviner has shared their link on social media, their website, or with you personally. Browse their services, read testimonials from past clients, and check their availability to find a time that works.
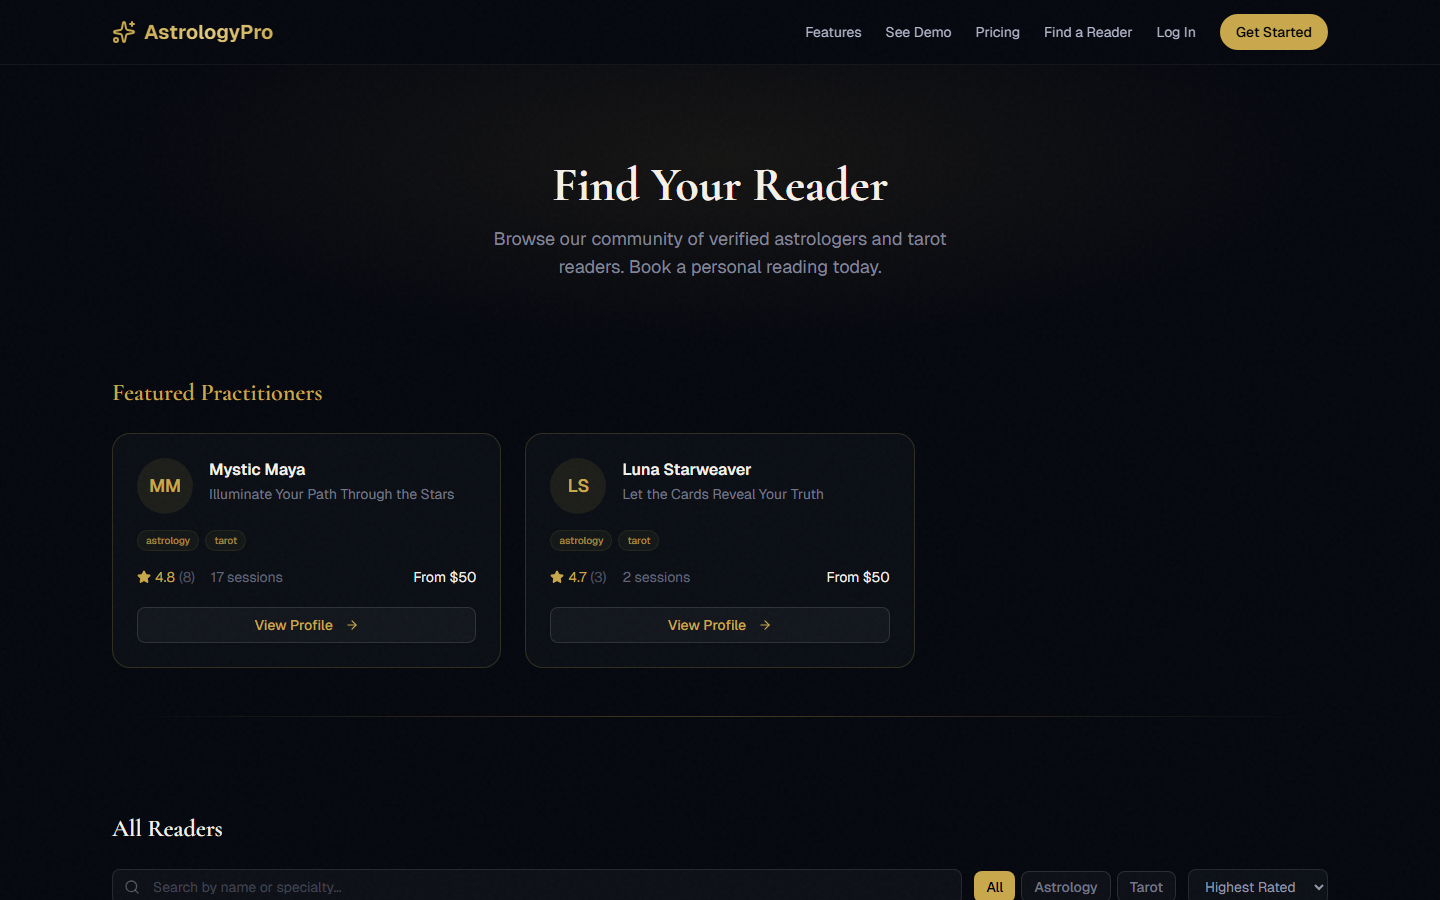
Pro Tip: Read the testimonials! They will give you a great sense of the diviner’s style and what to expect from your session.
Booking a Reading
Choose the service you want (astrology reading, tarot session, etc.), pick a date and time from the diviner’s available slots, then fill out the intake questionnaire. For astrology readings, you will enter your birth date, birth time, and birth location. Complete the payment securely via Stripe, and you will receive a confirmation email with your session link.
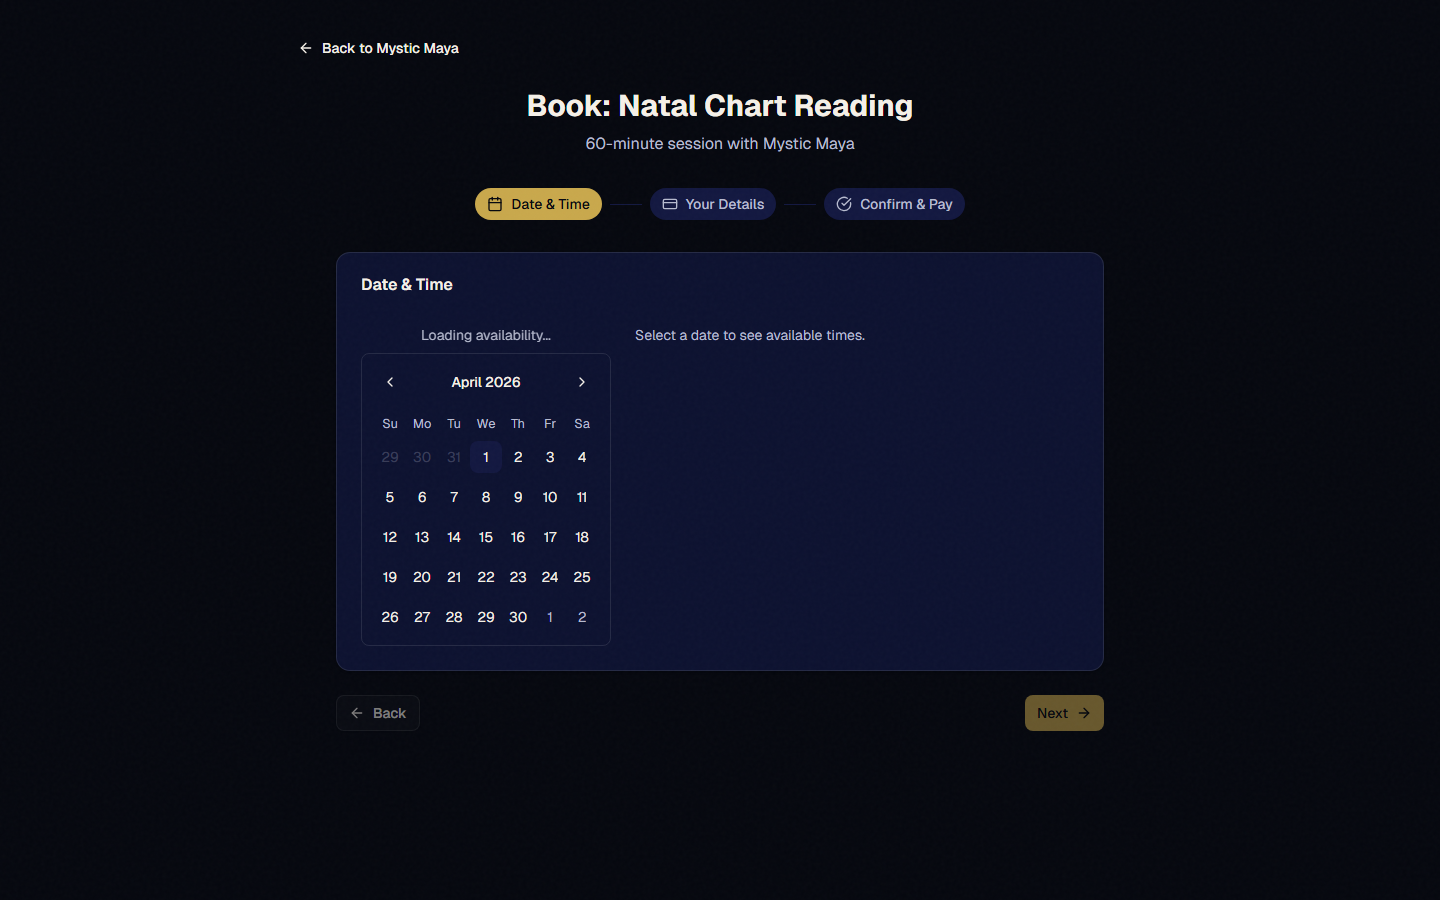
Pro Tip: If you do not know your exact birth time, check your birth certificate or ask a family member — it makes a big difference in the accuracy of your reading.
Your Session
At your appointment time, click the session link from your confirmation email. You will be asked to accept the recording consent (the session is recorded so you can rewatch later). You will see your diviner on video in real time. When they share their screen, you will see the charts, cards, or other tools they use during your reading. You can also use the text chat if you need to share information during the session.
Pro Tip: Find a quiet, private space for your session. Good lighting and a stable internet connection will make the experience much better.
After Your Session
Shortly after your session ends, you will receive an email with a link to your full recording. Watch it anytime to revisit the insights from your reading. You can also share the recording on social media if you would like. You will receive a separate email asking you to leave a testimonial — your review helps your diviner grow their practice and helps other clients find great readers.
Pro Tip: Watch the recording again a few weeks later. You will often catch insights that make more sense once time has passed.
Your Client Portal
Log in at astrologypro.com/login and select the Client tab. Enter your email and we will send you a magic link — no password needed! Your portal shows all your upcoming bookings, past sessions with recordings, and your profile. Update your birth data and personal details anytime. Everything is in one place so you never lose track of your readings.

Pro Tip: Bookmark your portal link for easy access. You can always find your recordings and upcoming sessions there.
Phone Readings
Some diviners offer phone readings. If your diviner has a phone number listed, you can call it to join your scheduled video session by audio, or book a standalone phone reading. Your card on file will be charged after the call.
Pro Tip: Phone readings are perfect when you are on the go or prefer a more intimate audio-only experience.
Tips & Frequently Asked Questions
Quick answers to the most common questions from diviners and clients.
Common Questions
How do I change my username?
Your username is permanent and cannot be changed after account creation. If you absolutely need a new one, contact our support team to discuss options.
What if I need to cancel a session?
Cancel from your dashboard at least 24 hours before the scheduled time for a full refund. Cancellations within 24 hours are handled on a case-by-case basis.
How do overtime charges work?
After your allotted session time expires, additional minutes are billed at $0.50 per minute. You and your client both see a timer and overtime alerts during the session.
Can I offer my own pricing?
Yes! Every service has a customizable price field in your dashboard. Set your rates to whatever works for your experience level and market.
How do event reminders work?
We track your clients’ birth data and automatically send them email reminders before major astrological events like solar returns, Saturn returns, and significant transits. These reminders include a link to book a session with you.
Do I need any special software for video sessions?
No! Everything runs in your web browser. No downloads, no installations. Just click the session link and you are in.
How do I get paid?
Payments go through Stripe directly to your connected bank account. Stripe typically deposits funds within 2–7 business days depending on your country.
Can clients book without creating an account?
Clients do not need to create an account to book. They simply fill out the booking form and pay. They receive a magic link via email to access their portal, recordings, and future bookings.
How do I reset my password?
Click "Forgot password?" on the login page. Enter your email and we will send a reset link.
How do phone readings work?
Your diviner will give you their dedicated phone number. Call at your scheduled time. The first 20 minutes cost $25, then $0.50 per additional minute. The call is recorded.
How do refunds work?
Your diviner can issue refunds from their dashboard. Refunds are processed through Stripe and typically appear in 5–10 business days.
What are loyalty discounts?
Some diviners offer discounts for repeat clients. These apply automatically when you book.
Ready to Get Started?
Create your account and launch your professional astrology practice in minutes.